
How Can You Do Dryer Vent Cover Replacement in Cranston?
Dryer vent covers may look small, but they actually protect your home from bigger problems. Dryer Vent Cover Replacement may sound like a simple household task, yet it plays a big role in keeping your laundry routine safe and efficient. If you’re living in Cranston, you probably know how unpredictable the weather can be—snow in winter, humidity in summer, and plenty of windy days in between. All these conditions can wear out a vent cover much faster than you expect. A broken or clogged cover can let in pests, trap lint, and even raise the risk of a fire. The good news is, swapping out an old vent cover isn’t as complicated as it seems. With the right approach, you can handle it yourself or at least understand what the pros are doing when they step in.
Why the Vent Cover Matters More Than You Think
Think of your dryer vent cover like the little guard at the end of a tunnel. Its main job is to keep lint flowing out and stop outside elements from sneaking in. When it breaks or gets stuck, two things happen: your dryer starts working harder, and your home becomes more exposed to pests, cold drafts, or even moisture. In Cranston, where freezing winters and damp springs are common, a bad cover can quickly turn into a bigger household headache.
Another way to look at it—if your dryer feels like it’s taking twice the time to dry clothes, the vent cover could be part of the problem. This tiny piece can affect energy bills, appliance life, and even indoor air quality.
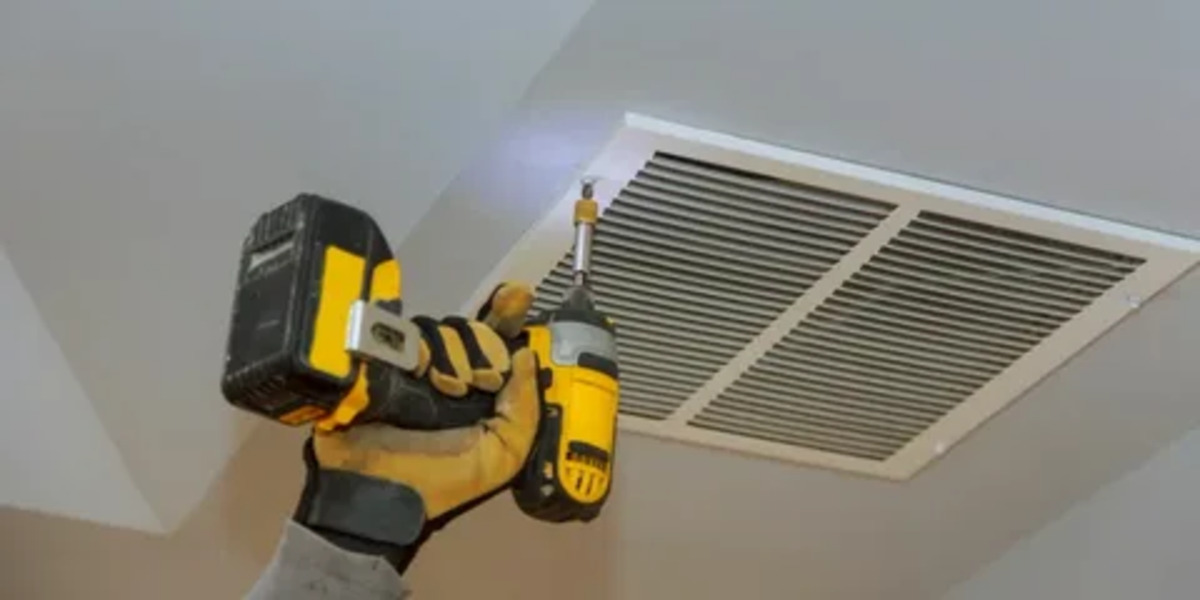
Step-by-Step: Replacing Your Dryer Vent Cover
Replacing a vent cover doesn’t require fancy tools or expert training, but it does need patience and a little attention to detail. Here’s a simple flow you can follow:
- Spot the Problem – Check if the cover is cracked, missing flaps, or clogged with lint.
- Remove the Old Cover – Unscrew or gently pry it away. Be ready for some lint build-up inside.
- Clean the Area – Before adding the new one, clear out lint and dirt from the edges. This helps the new cover fit tightly.
- Install the New Cover – Line it up properly, screw it in place, and test if the flap opens smoothly when air blows out.
- Final Check – Run your dryer for a few minutes. Watch the flap; it should move freely without sticking.
Adding this kind of small vent maintenance step during replacement not only makes the cover last longer but also keeps your dryer running efficiently.
Here’s a quick reference table to make things even simpler:
| Step | What You Do | Why It Matters |
|---|---|---|
| 1 | Inspect old cover | Find damage or blockage |
| 2 | Remove cover | Makes space for new one |
| 3 | Clean edges | Ensures snug fit |
| 4 | Install replacement | Restores airflow |
| 5 | Test dryer | Confirms proper function |
Common Mistakes to Avoid
When people in Cranston try DIY vent replacement, they sometimes rush and overlook small but important details. For example:
- Forgetting to clean lint: Leaving lint inside the vent before installing a new cover can make the fresh one clog quickly.
- Choosing the wrong size: Not all vents are the same size. Always measure first.
- Skipping the test run: If you don’t check with the dryer running, you won’t know if the flap works.
A little care saves a lot of trouble later. Or as one Cranston homeowner put it:
“I thought replacing the vent cover was just a ten-minute job, but once I checked properly, I realized cleaning the inside mattered just as much as putting the new one on.”
When to Call in the Pros
Doing it yourself is fine if the vent cover is easy to reach and the vent pipe behind it isn’t damaged. But if you notice any of these signs, you might want professional help:
- The vent is too high or stuck behind tricky siding.
- You see mold or water stains around the vent area.
- The dryer still struggles even after replacement.
Cranston has plenty of local services that can handle these cases, often finishing the job faster and with a warranty on the work.
Key Features
When shopping for a new dryer vent cover, look for durable plastic or metal, tight-sealing flaps to keep out critters, and weather resistance. A removable design is also handy for future cleanings.
Safety
Don’t underestimate the fire risks. A clogged or broken cover makes lint gather inside the vent, which is highly flammable. Regular checks, cleaning, and timely replacement are simple steps to keep your family safe.
Cost
In Cranston, replacing a vent cover can be surprisingly affordable. A basic DIY replacement might cost around $15–$40 for the part, while professional installation usually ranges between $100–$200 depending on the complexity.
Emergency Service
If your vent cover breaks in the middle of a cold snap or a storm, many local contractors in Cranston offer emergency services. It’s worth having one or two numbers saved in case your home suddenly gets exposed to outside air or pests.
FAQs
Q1: How often should I replace a dryer vent cover?
Every 3–5 years is a good rule, but weather and wear may shorten that timeline.
Q2: Can I paint the vent cover to match my siding?
Yes, but use weather-resistant outdoor paint to prevent peeling.
Q3: What happens if I ignore a broken cover?
You risk higher energy bills, lint build-up, pest entry, and even fire hazards.
Q4: Is metal better than plastic?
Metal lasts longer in harsh weather, but quality plastic covers can work well too if maintained.
Conclusion
Dryer vent cover replacement in Cranston may not seem like the most exciting home task, but it’s one of those small jobs that make a big difference. Whether you tackle it on your own or bring in a professional, keeping that vent secure and clear means safer drying, better energy efficiency, and peace of mind. A little attention today can prevent bigger, costlier issues tomorrow.
Read more: Dryer Vent Cleaning